Gateways
This sections details installation steps for optional APIO core gateways.
Webex Gateway
APIO Webex gateway interacts with the Webex Admin APIs and the Webex (BroadWorks) Calling APIs. To enable this interaction, a Webex Integration is configured, allowing the APIO Webex gateway to perform actions on behalf of a Webex Partner Full Admin user using OAuth 2.0 authorization.
To ensure a fully functional APIO Webex gateway (that sends authenticated requests to Webex REST APIs and handles Webex authorisation token refreshing logic), the following steps must be completed.
- Step 1: Webex Integration App Setup
- Step 2: Docker Configuration
- Step 3: Nginx Configuration
- Step 4: Webex Gateway Setup
- Step 5: APIO Core Configuration
Step 1: Webex Integration App Setup
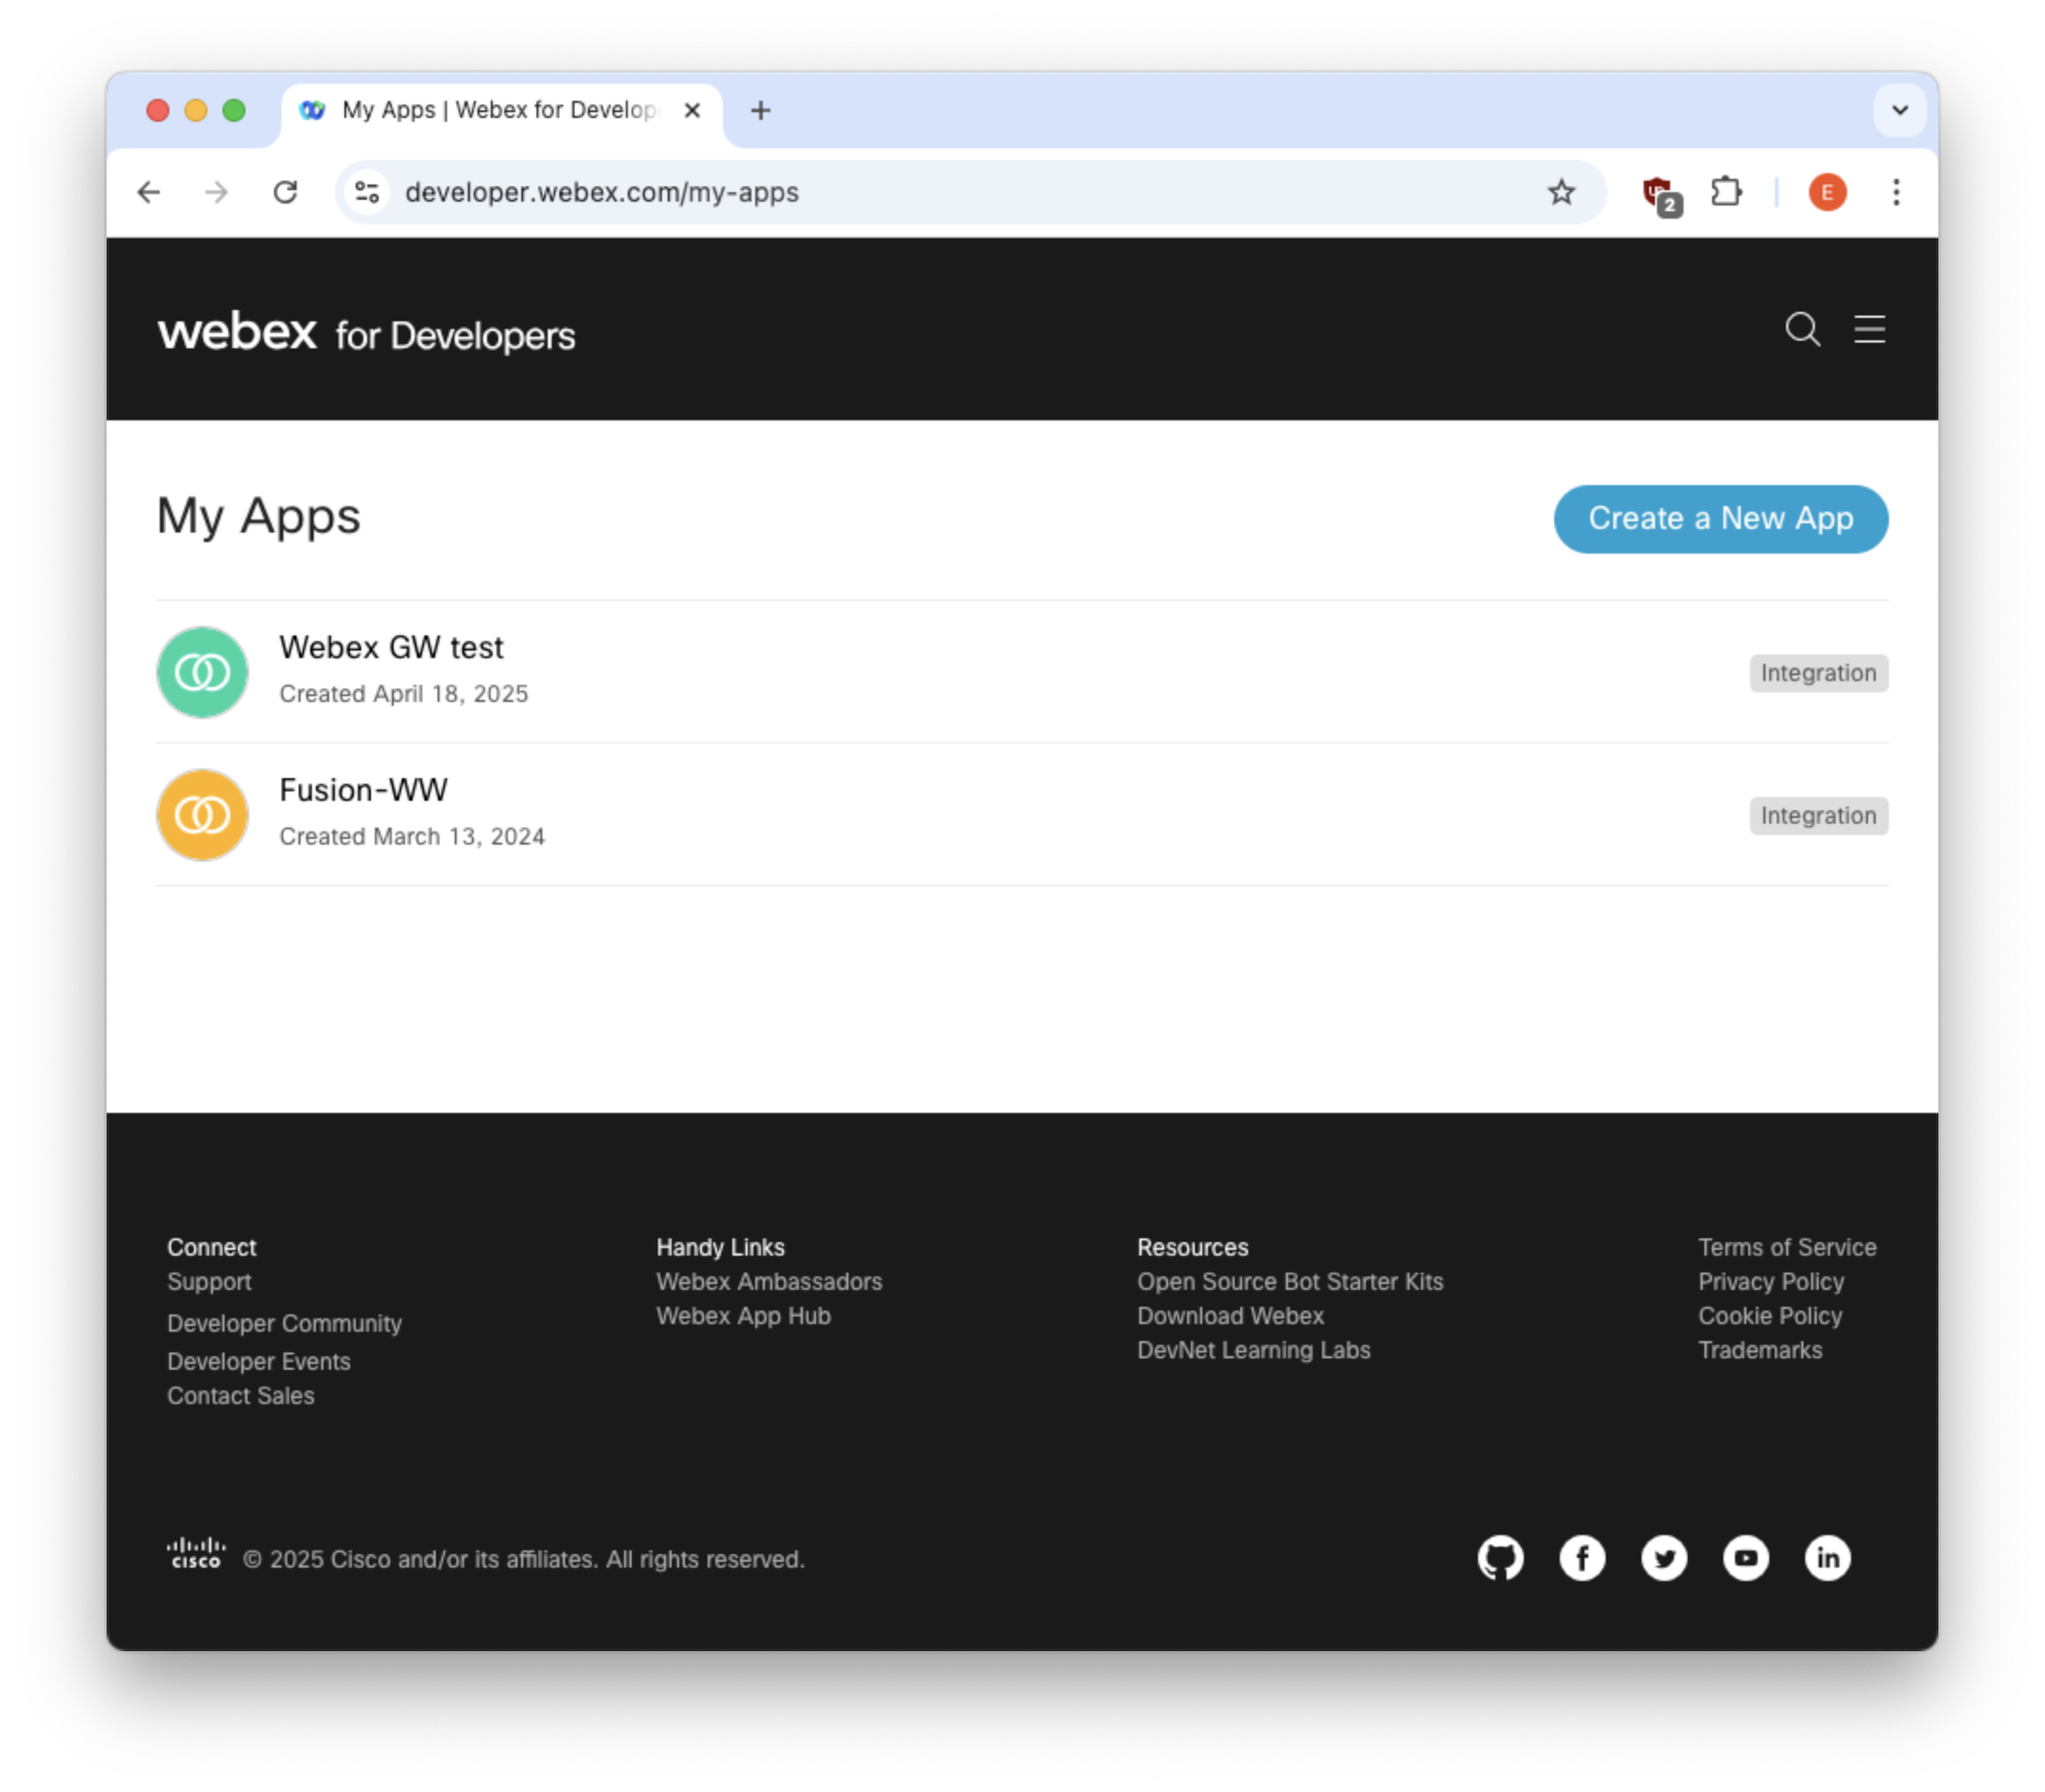
Log-in to the Webex developer site and create a Webex Integration App by selecting "Create a New App → Create an Integration".
Note that the account used to create the Webex Integration App does not need to be a Webex admin user. This account is not necessarily the one that will be used to authenticate and approve the requested scopes during the OAuth flow described in step 4.
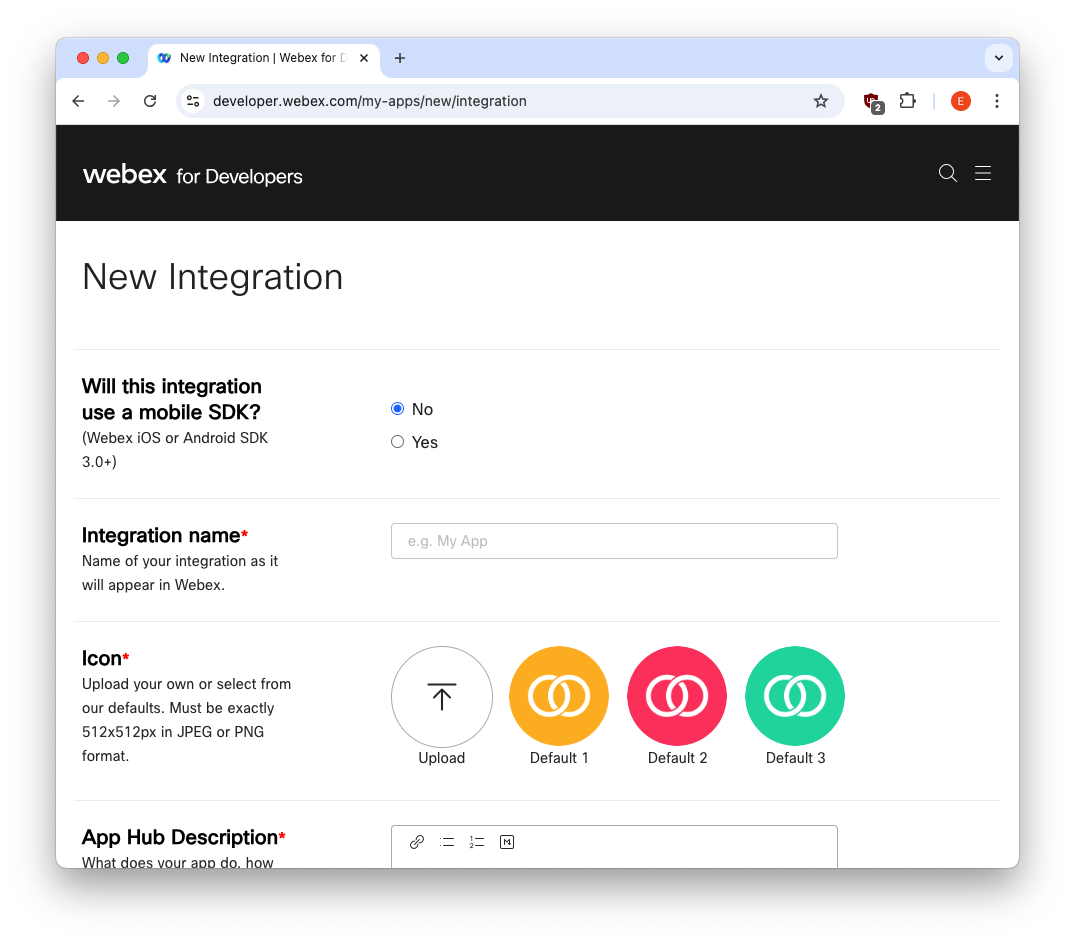
Fill in the required fields:
Integration name
Description
Icon
Scopes: these define what level of access your app requires
- spark-admin:broadworks_subscribers_read
- spark-admin:broadworks_subscribers_write
- spark-admin:broadworks_enterprises_read
- spark-admin:broadworks_enterprises_write
- spark:people_read
- spark-admin:people_read
- spark-admin:people_write
- identity:people_rw
- identity:people_read
- spark-admin:organizations_read
The value in the OAuth "Redirect URIs" field must match the URL through which APIO Core is exposed, targeting the
/api/v01/webex/auth/codeendpoint. This URI is used as theredirect_uriparameter in Webex gateway configuration and must follow the formathttp(s)://<APIO core FQDN/IP>/api/v01/webex/auth/code.
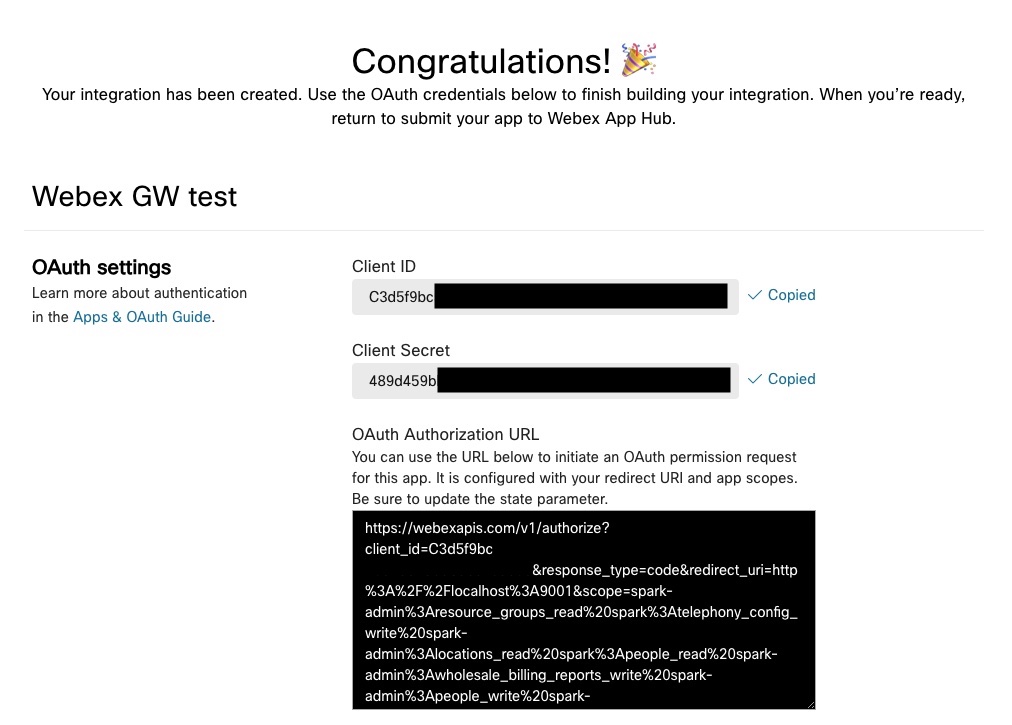
After clicking the Add Integration button, the OAuth credentials (Client ID and Client Secret) as well as the OAuth Authorization URL are generated and displayed
WARNING
Note down generated Client Secret, since it will no longer be visible from "My Webex Apps → <your app>" details page (it will be anyway possible to regenerate a new one from the same page).
The Client ID and OAuth Authorization URL will be instead always visible in "My Webex Apps → <your app>" details page.
The Client ID and Client Secret are required in Step 2.
The OAuth Authorization URL is required in Step 4 to initiate the OAuth permission request for this integration. It includes the configured redirect URI and the requested scopes.
Step 2: Docker Configuration
Add the following section to APIO core docker-compose.yml file, filling the environment section with Webex Client ID and Secret, and Redirect URI
webex_gw:
   image: distribution.bxl.netaxis.be/apio_bsft/core:2.15.2
   command: /usr/local/go/webex_gw -port=9001 -trackIDPrefix=WW -tokensFile=/opt/tokens/.tokens
   restart: always
   environment:
      - client_id=<webex client ID>
      - client_secret=<webex client secret>
      - redirect_uri=<webex redirect uri>
   expose:
      - 9001
   volumes:
      - /opt/webex_gw:/opt/tokens
   logging:
      driver: syslog
      options:
      tag: "{{.Name}}"
The client_id and redirect_uri can be retrieved in "My Webex Apps → <your app>" details page, client_secret should have been saved in step 1 while setting up Webex App Integration - otherwise it needs to be regenerated.
The file /opt/tokens/.tokens specified as value for tokensFile command line option is where tokens will be stored, and will be automatically created by the Webex gateway during the OAuth authorization flow - see Step 4: Webex Gateway Setup below.
TIP
In case of environment not directly exposed to external internet access, it is possible configure the Docker Webex gateway service to use a proxy defining HTTP[S]_PROXY environment variables as follows
webex_gw:
   [...]
   environment:
      - client_id=<webex client ID>
      - client_secret=<webex client secret>
      - redirect_uri=<webex redirect uri>
      - HTTP_PROXY=<proxy server url>
      - HTTPS_PROXY=<proxy server url>
Step 3: Nginx Configuration
Add the following section to APIO Core nginx.conf - usually mapped in /opt/docker/etc/
location /api/v01/webex/ {
      proxy_pass         http://webex_gw:9001/api/v01/webex/;
      proxy_redirect     off;
      proxy_set_header   X-Real-IP            $remote_addr;
      proxy_set_header   X-Forwarded-For      $proxy_add_x_forwarded_for;
      proxy_set_header   X-Forwarded-Proto    $scheme;
      proxy_set_header   Host                 $host;
}
Start webex_gw and restart nginx container - from docker-compose.yml folder run (change nginx container name according to the actual one, if needed)
docker compose up webex_gw
docker compose down nginx; docker compose up nginx
Step 4: Webex Gateway Setup
Copy the OAuth Authorization URL from "My Webex Apps → <your app>" details page

and paste it in the address bar of a browser that can access both the internet and the redirect URI. This triggers a Webex login page, where a Webex Partner Full Admin user must log in
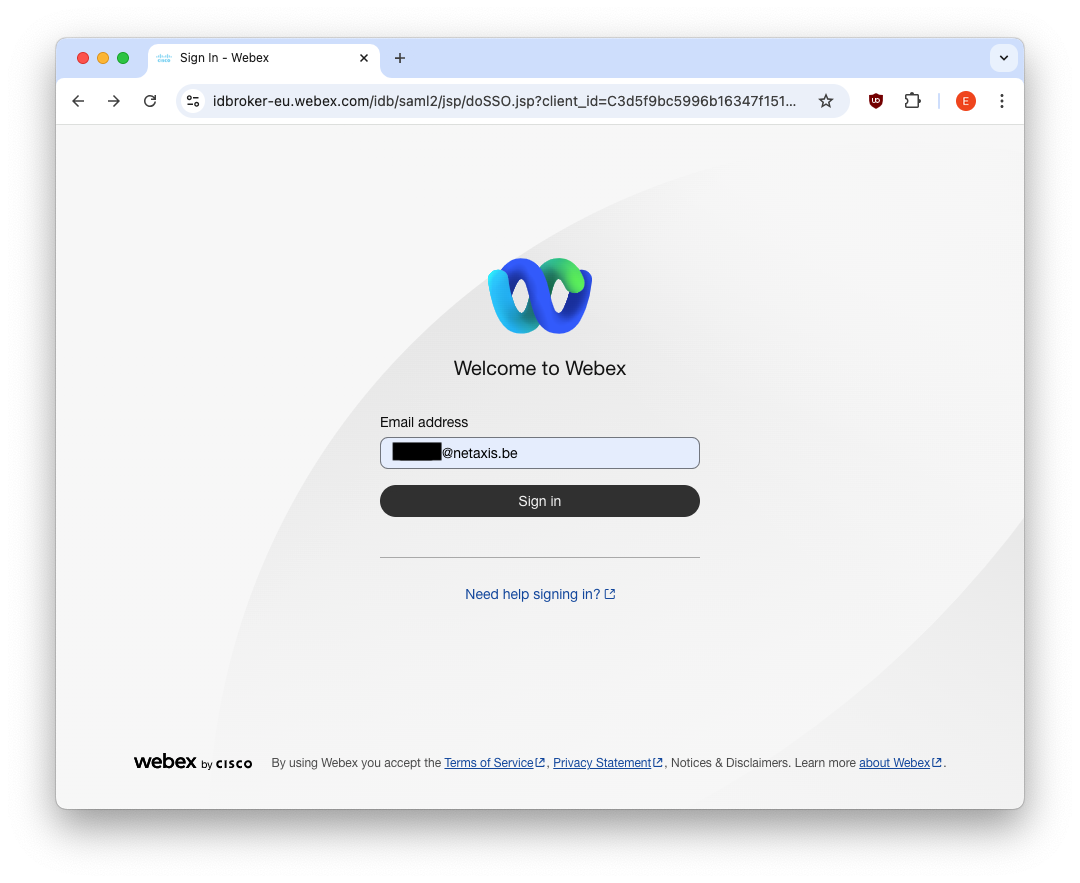
and approve the requested scopes:
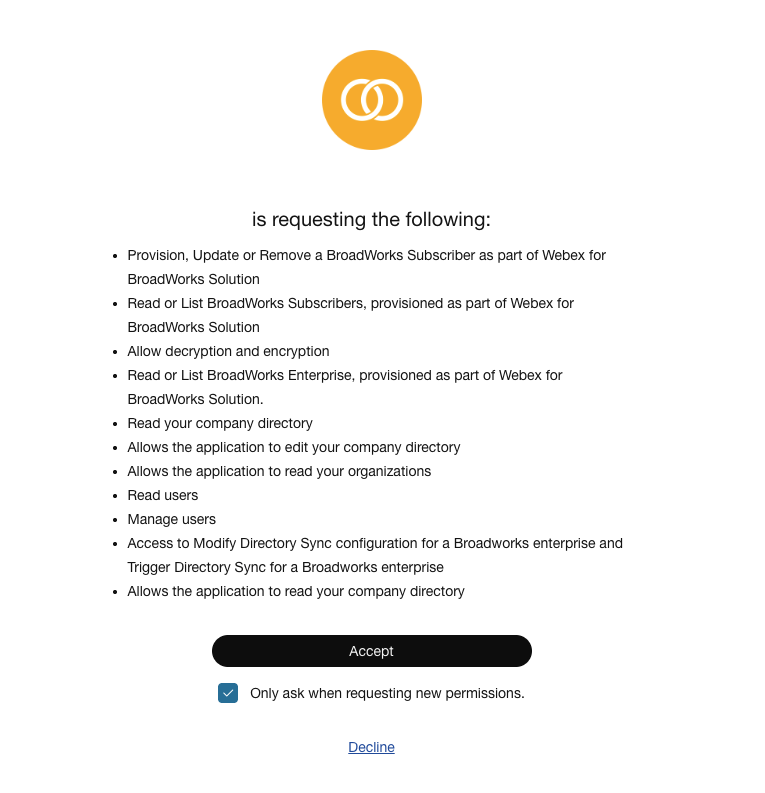
If the Webex integration app and APIO Webex gateway are consistently configured, APIO Webex gateway receives the redirect request and extracts the code parameter. The code is used (along with client ID and client secret) by APIO Webex gateway to request the access and refresh tokens. These tokens are stored in the .tokens file (which is created automatically if it does not already exist). The OAuth flow completes successfully and the user is redirected to a confirmation page

From this point onwards, the token refresh is handled automatically by the APIO Webex gateway. The token is added by the Webex gateway to any subsequent requests sent to Webex APIs.
The following sequence diagram illustrates the OAuth Authorization Code flow (see Login with Webex - Authorization code flow)
WARNING
The OAuth tokens become invalid if the password of the Webex Partner Full Admin account used by APIO is changed. The tokens are also invalidated if this administrator account is deleted.
In both cases, the OAuth authorization flow must be executed again to generate new valid tokens.
Step 5: APIO Core Configuration
In APIO Core define a new gateway - in Settings → Gatweays - with the following parameters:
- URL →
http://webex_gw:9001 - Timeout → 10
- Check → ✓
- Check url →
/health - Session holder →
webex_wholesale(or the name you like)
Defaults can be kept for other parameters.
TIP
In a customer environment with multiple APIO Webex gateways, you can either create a dedicated Webex Integration App for each gateway or reuse a single Webex Integration App accross multiple gateways.
When reusing the same Webex Integration App, all APIO Webex gateways will share the same Client ID and Client Secret. However, the OAuth Authorization URL used to initiate the OAuth authorization flow must be specific for each gateway, as it embeds the Redirect URI pointing to that gateway and must exactly match the redirect_uri configured on the gateway. The same "My Webex Apps → <your app>" details page allows you to generate the appropriate OAuth Authorization URL for all Webex gateway. For each gateway, go to the Redirect URI(s) field, click "Edit", update the value to match the target gateway, and save the changes. The displayed OAuth Authorization URL is then updated accordingly.
Note: although the Integration App page allows multiple values to be entered in the Redirect URI(s) field, only one Redirect URI must be configured at a time. Do not configure multiple URIs simultaneously.
Troubleshooting
Once the integration is set up, you can verify the token details by checking the tokens file. This file includes:
- Current refresh token
- Current access token
- Validity duration (in seconds) for both the access token and refresh token
- Last issuance time of the access token, represented as a UNIX timestamp in the
atfield. - Scopes
Example (redacted):
# more /opt/webex_gw/.tokens
{
  "access_token": "REDACTED",
  "expires_in": 1209599,
  "refresh_token": "REDACTED",
  "refresh_token_expires_in": 7775999,
  "at": 1769606789,
  "token_type": "Bearer",
  "scope": "spark-admin:broadworks_subscribers_write ..."
}
The access token and refresh token are automatically refreshed before expiration to maintain an active integration.
TIP
To convert the UNIX timestamp to a human-readable format, use the date command. For example:
# date -d @1769606789
Wed Jan 28 14:26:29 CET 2026
You can also calculate future expiration times by adding the validity duration (in seconds) to the timestamp. For instance:
Access token expiration:
# date -d @$((1769606789+1209599))
Wed Feb 11 14:26:28 CET 2026
Refresh token expiration:
# date -d @$((1769606789+7775999))
Tue Apr 28 15:26:28 CEST 2026
Whenever the gateway receives a health status request, it sends a dummy API request to Webex to verify end-to-end connectivity. The request uses the access token for Bearer authentication. Connectivity is considered successful unless an authentication failure occurs (client errors are ignored).
Therefore, the following log lines should appear at regular intervals, depending on the configured log level.
...
Feb 10 09:09:44 core-demo apio_core_2-webex_gw-1[1336]: time="2026-02-10T08:09:44Z" level=debug msg="using token REDACTED (iteration 0)" topic=oauth2
Feb 10 09:09:44 core-demo apio_core_2-webex_gw-1[1336]: time="2026-02-10T08:09:44Z" level=debug msg="request sent with oauth2 protocol: GET / HTTP/1.1\r\nHost: webexapis.com\r\nUser-Agent: Go-http-client/1.1\r\nConnection: close\r\nAuthorization: Bearer REDACTED\r\nAccept-Encoding: gzip\r\n\r\n"
Feb 10 09:09:45 core-demo apio_core_2-webex_gw-1[1336]: time="2026-02-10T08:09:45Z" level=info msg="request to https://webexapis.com/ took 140.385641ms"
Feb 10 09:09:45 core-demo apio_core_2-webex_gw-1[1336]: time="2026-02-10T08:09:45Z" level=debug msg="response: HTTP/2.0 404 Not Found\r\nContent-Length: 221\r\nCache-Control: no-cache, no-store\r\nCisco-Spark-Error-Codes: 404\r\nContent-Type: application/json\r\nDate: Tue, 10 Feb 2026 08:09:45 GMT\r\nServer: istio-envoy\r\nTrackingid: REDACTED\r\nVary: Origin\r\nX-Content-Type-Options: nosniff\r\nX-Envoy-Upstream-Service-Time: 6\r\n\r\n{\"errorCode\":404,\"message\":\"The requested resource could not be found.\",\"errors\":[{\"errorCode\":404,\"description\":\"The requested resource could not be found.\"}],\"trackingId\":\"REDACTED\"}"
Feb 10 09:09:45 core-demo apio_core_2-webex_gw-1[1336]: time="2026-02-10T08:09:45Z" level=info msg="[GIN] 2026/02/10 - 08:09:45 | 200 |  141.310923ms |      172.19.0.7 | GET      \"/health\""
...
Whenever the access token expires (as indicated by a 401 Unauthorized error in the logs) it is automatically refreshed using the current refresh token to obtain a new access token. The access token refresh payload response is written to the token file.
...
Jan 14 14:26:26 core-demo apio_core_2-webex_gw-1[31051]: time="2026-01-14T13:26:26Z" level=debug msg="using token REDACTED (iteration 0)" topic=oauth2
Jan 14 14:26:26 core-demo apio_core_2-webex_gw-1[31051]: time="2026-01-14T13:26:26Z" level=debug msg="request sent with oauth2 protocol: GET / HTTP/1.1\r\nHost: webexapis.com\r\nUser-Agent: Go-http-client/1.1\r\nConnection: close\r\nAuthorization: Bearer REDACTED\r\nAccept-Encoding: gzip\r\n\r\n"
Jan 14 14:26:26 core-demo apio_core_2-webex_gw-1[31051]: time="2026-01-14T13:26:26Z" level=info msg="request to https://webexapis.com/ took 27.472982ms"
Jan 14 14:26:26 core-demo apio_core_2-webex_gw-1[31051]: time="2026-01-14T13:26:26Z" level=debug msg="response: HTTP/2.0 401 Unauthorized\r\nContent-Length: 269\r\nContent-Type: application/json\r\nDate: Wed, 14 Jan 2026 13:26:26 GMT\r\nServer: istio-envoy\r\nTrackingid: REDACTED\r\nX-Content-Type-Options: nosniff\r\nX-Envoy-Upstream-Service-Time: 2\r\n\r\n{\"message\":\"The request requires a valid access token set in the Authorization request header.\",\"errors\":[{\"description\":\"The request requires a valid access token set in the Authorization request header.\"}],\"trackingId\":\"REDACTED\"}"
Jan 14 14:26:26 core-demo apio_core_2-webex_gw-1[31051]: time="2026-01-14T13:26:26Z" level=info msg="refreshing token for oauth2 protocol with username , client id REDACTED on login url https://webexapis.com/v1/access_token"
Jan 14 14:26:26 core-demo apio_core_2-webex_gw-1[31051]: time="2026-01-14T13:26:26Z" level=debug msg="fetch token request: POST /v1/access_token HTTP/1.1\r\nHost: webexapis.com\r\nContent-Type: application/x-www-form-urlencoded\r\n\r\nclient_id=REDACTED&client_secret=REDACTED&grant_type=refresh_token&refresh_token=REDACTED"
Jan 14 14:26:26 core-demo apio_core_2-webex_gw-1[31051]: time="2026-01-14T13:26:26Z" level=debug msg="fetch token response: HTTP/2.0 200 OK\r\nCache-Control: no-store\r\nContent-Type: application/json\r\nDate: Wed, 14 Jan 2026 13:26:26 GMT\r\nPragma: no-cache\r\nServer: istio-envoy\r\nTrackingid: REDACTED\r\nTrackingid: REDACTED\r\nVary: origin,accept-encoding\r\nX-Content-Type-Options: nosniff\r\nX-Content-Type-Options: nosniff\r\nX-Envoy-Upstream-Service-Time: 174\r\nX-Normalized-Path: /access_token\r\n\r\n{\"access_token\":\"REDACTED\",\"expires_in\":1209599,\"refresh_token\":\"REDACTED\",\"refresh_token_expires_in\":7775999,\"token_type\":\"Bearer\",\"scope\":\"spark-admin:broadworks_subscribers_write ...\"}"
Jan 14 14:26:26 core-demo apio_core_2-webex_gw-1[31051]: time="2026-01-14T13:26:26Z" level=debug msg="token updated: REDACTED" topic=oauth2
Jan 14 14:26:26 core-demo apio_core_2-webex_gw-1[31051]: time="2026-01-14T13:26:26Z" level=info msg="tokens updated"
...